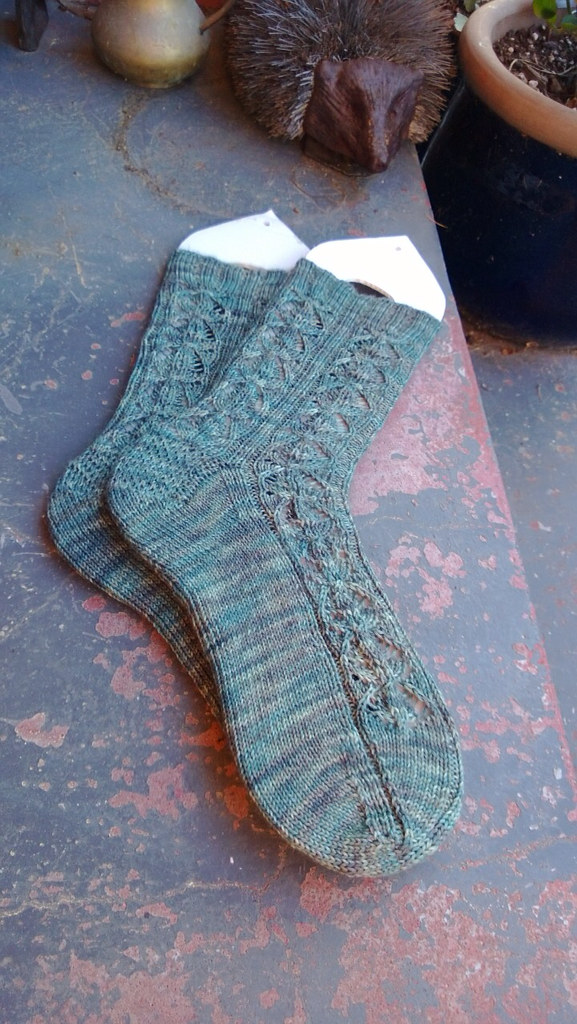
I sat down to blog today and had a slightly guiltily thought that this purports to be a knitting blog. Oh I know over the years there has been other things, family, cat, dying, weaving, spinning, books, bookbinding, spinning, fountain pens gardening, and a whole lot of other stuff I can't remember right now. But mostly the blog contains knitting - and that was the intent. So when I settled down to blog today, and reviewed the images I made to blog with - there was a slightly guilty moment when I saw not a lot of knitting.
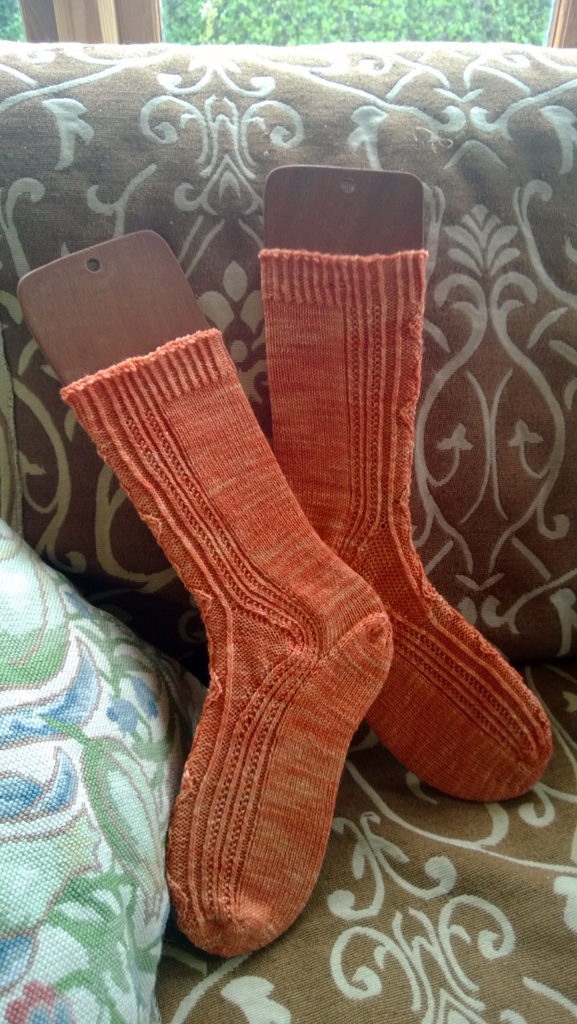
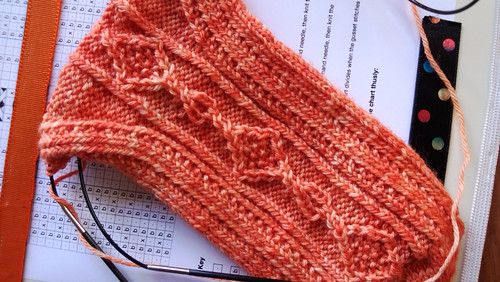
So up first knitting, socks all finished and read for little cub. These are Vintage Purls You turn - knit in VP Mrs Wemberly, a soft orange yarn. I knit a size 9", still a tad big for little cub ... but not for long, they grow fast those cubs. Love the sock, love the yarn, love the colour and especially love the twisted stitch diamonds running up the instep.
Love them !
Finishing these means that there is not much on the needles, I've got a shawl started, Iceland poppy by Evelyn Clarke, and I am trying to knit a cardigan in Veranda Yarns Light fingering blue faced Leicester yarn. I say trying as I just can't settle on a pattern, I started Slanted Sleeven, but my gauge was way way different, and the gap between knowing what I was doing size wise and making it up was too big. Seems I am not in the mood for process knitting right now - I want product.
I didn't know I wanted product until a local knitter shared a cardigan she had just finished, in sock yarn, so so pretty with lace worked across the back, from shoulder to shoulder. I wanted one of my own ....I really did. So I have frogged my Sleeven, and have been trolling the patterns in ravelry, looking for something pretty knit in fine fingering. So far my favorite options are Criollo, by Justyna Lorkowska, Starling by Cecily Glowik McDonald, or Joci by Joj Locatlli. Right now I am swatching whilst I decide, feel free to comment, I'm looking for something slightly cropped that will be pretty, to be knit in light fingering in a dusty blue red.
Meanwhile I have been playing with sparkly things, sequins and beads. After discovering not all embroidery frames were universally useful, I ordered (uhmm) three new frames. I'm still slightly surprised at ordering three, but there you go, three. First one was from Lacis - a "professional Tambour frame" with risers, 10"x18". Well they call it professional but most of the working tambour people I have seen photos of use a much larger frame. It was surprisingly affordable, I ordered the frame and the risers, which I think of as feet.
I've not seen much online about this frame ... so wasn't quite sure what to expect. I have to say that I am impressed, as it Bear. The frame is incredibly simple, and low tech (note the rubber bands and clamps - all part of the kit), and surprisingly effective. If anyone was setting out to provide a class set of embroidery frames for a workshop at low cost or looking to move beyond a hoop this is perfectly workable and affordable solution.
The frame itself compromises two pairs of hardwood struts, two small clamps, and two bolt/washer/wingnuts assemblies. The kit comes with tape that you cut and staple into the frame. You assemble a shorter strut to a longer strut, then affix your embroidery fabric to the tape. I remembered when stitching the last side that herringbone was the recommended stitch. Then you stretch the frame out to pull the fabric taut, and use the clamps to secure the struts. I used a small woodworkers square to keep my frame square. By loosening and adjusting the frame and clamps one can get a surprising amount of tension in the fabric.
The risers are the most ingenious part, four short simple legs each with a notch, and four wide rubber bands. That is all and when assembled as per the diagram the result is a sturdy frame supported 5" above the table - brilliant ! I imagine I will replace the rubber bands with more durable elastic. Even more brilliant when I discovered how easy it was to remove the risers and flip the frame is I could work on either side of the fabric easily. This is a seriously cool solution.
All so I can continue to play with tambour embroidery. I felt like I needed a bigger space to work on than my 8.5 inch hoop allowed. Because tambour work uses beads and sequins it is difficult to reposition the hoop over an adjacent section of fabric without damaging the work already completed.
So here I am all set up to go, a sampler of sorts. Except a sampler is intended to be a reference work, demonstrating ones proficiency - and this is more like a practice piece. Oh I love the idea of this being a sampler - I just know I'm not proficient enough yet. So I am thinking of this as a demonstration of what I know know, a learning piece. When I teach bookbinding I tell my class not to expect perfection - this is a learning book. My learning work has a combination of circles and boxes all ready for me to experiment and fill each with a different technique.
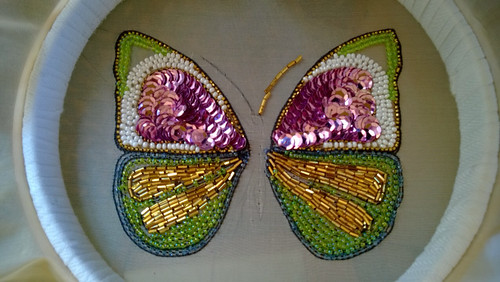
So here I am started, some beadwork lines, some sequin lines, some sequins sewn in a zig zag, some beads sewn on in sets of two and three. Sequins attached using a vermicilli stitch pattern, and some sequins sewn on in lines all facing the same direction. That I particularly enjoyed, discovering the wee trick that makes it possible to stitch sequins in parallel rows all aligned in the same direction without stopping and starting the thread for each line anew.
There are mistakes aplenty, gaps where beads and sequins should be but aren't, places where beads are too close together and so pop up above other beads, and places where sequins are sewn on two at once instead of singly. But it's all good - this is after all my learning sampler.
And yes - I did mention that I and ordered more than one frame - the first was this one from Lacis, the second was from Chinexlady on Ebay, a traditional slate frame, 24x24". These come from ITA in the UK and are held in high regard. At the time of ordering I wasn't sure just how the Lacis frame adjusted and after discovering the shortcoming for tambour work of my inherited MIL's frame with its one inch adjustments - I decided to take the plunge and order real slate frame. This is coming from 'tother side of the world' so belatedly I decided to see if there was a closer supplier ... And found Christinas crafts in Australia - technically almost next door compared to the UK. They listed frames up to a 'tape length' of 22 inches, similar to the frame I had just ordered. I was still thinking os something large enough to hold a garment sized section of fabric, so enquiry if they had larger frames. End result I have a custom made slate frame with an 36x24" internal dimension coming as well. I may also have 20 yards of 3cm wide cotton tape coming so I can lace the sides taut with pins and tape like shown here. At that point I had a reality check and stepped away from Google ....
This week is the first week of our school holidays ... I am on leave, so there might be marmalade made (we have some citrus no one is eating), swimming (little cub has invited a friend) and lots of knitting, and tambouring (which spell check thinks is tambourine every time - so maybe there should be that as well). And I will get to see how Yoyo spends her days .....
Na Stella


